Is it time to change your car brake pads? this article explores simple 8 steps that will enable you to change your brake pads yourself addressing all your ‘brake pad replacement how to’ questions.
If you suspect or notice signs that your pads are worn, then it is time to get a new pad replacement.
- Safety Warning When Replacing Brake Pad:
- Brake Pad Replacement Equipment
- Brake Pad Replacement How to Steps
- Step 1: Raise your Vehicle to Remove the Wheel:
- Step 2 – Remove the Brake Calliper
- Step 3 – Take out the Old Brake Pads and examine the Disc Brake
- Step 4 – Prepare your new brake pad by applying Loctite Grease (Brake Grease)
- Step 5 – Fit the New Brake Pads
- Step 6 – Replace the Wheels
- Step 7 – Pump the new Brake pads.
- Step 8 – Test Drive the Car
- Brake Pads Replacement Cost:
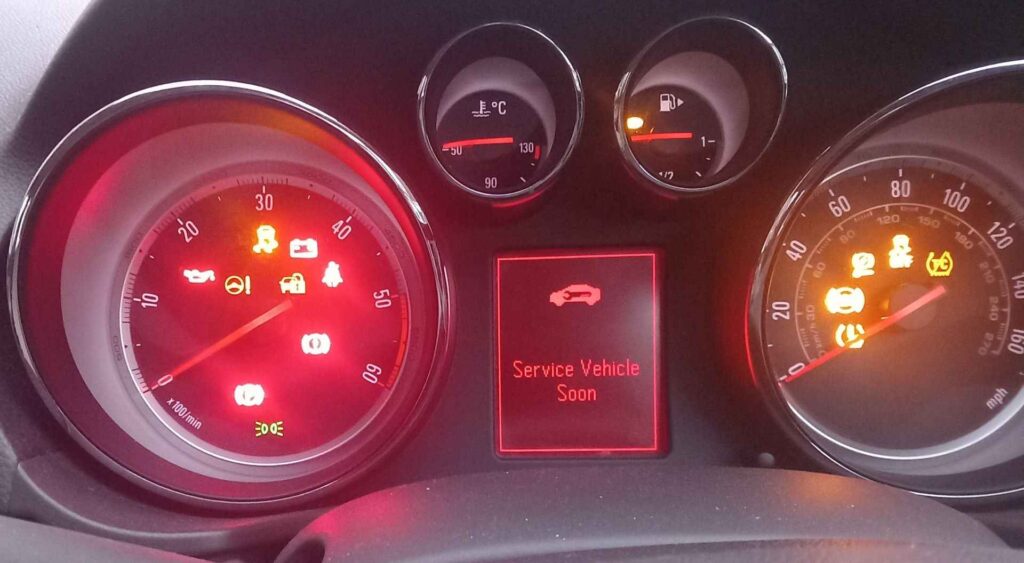
- Brake Problem Signs
- Conclusion
I will explain the steps to take to change those worn brake pads. Before we get started, I would like to mention that the amount of work to be done depends on the
- Vehicle type.
- type of brake we want to change.
Safety Warning When Replacing Brake Pad:
Break pads are a critical part of your vehicle brake system; as such, utmost care and professional competency are required to carry out this task.
Vehicles with more specialized brake systems may require professional engagement. If you feel not competent enough or in doubt, kindly seek professional assistance.
You are also required to wear personal protective equipment (PPE) such as eye safety glasses and protective gloves at all times.
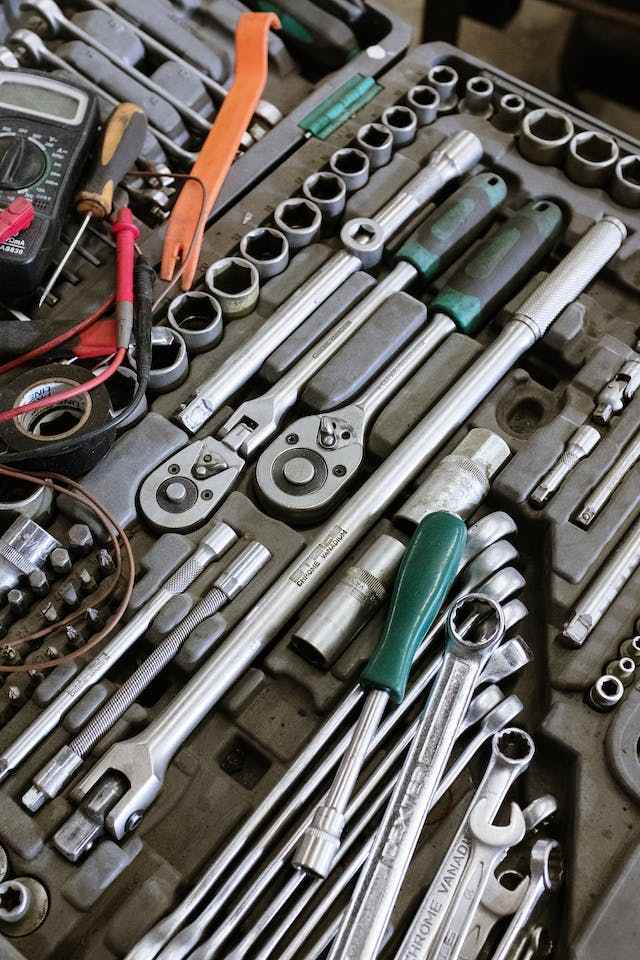
Brake Pad Replacement Equipment
Listed below are the tools you need to change brake pads. Lucky you, most car owners already have these tools.
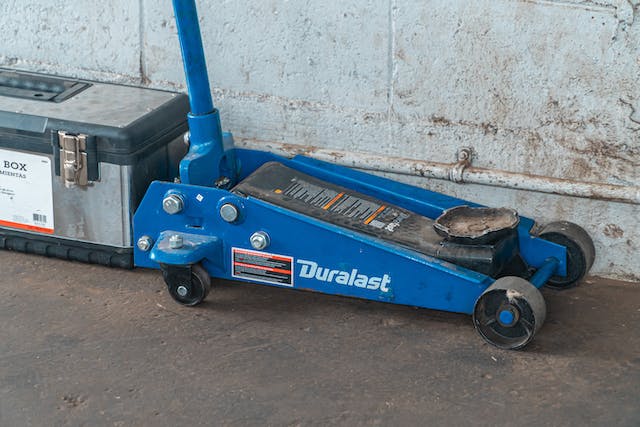
- Vehicle Jack (Hydraulic, bottle, or Scissor Jack).
- Jack stands to support your car when jacked up.
- Lug Wrench to remove the lug nuts.
- Flat Blade Screwdriver to remove the tire wheel cover (if applicable).
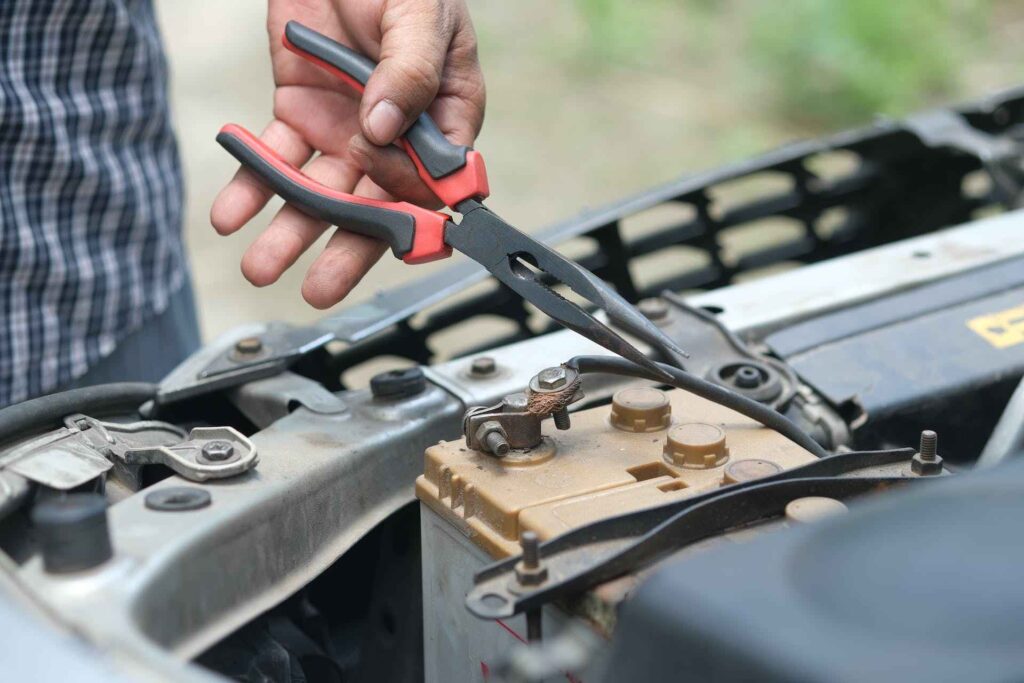
- Plier to remove safety pins, clips, and the brake pad.
- Wrenches and sockets to remove the calliper.
- Wire brush and Sandpaper to clean off rust and dirt, and smoothen the brake rotor surfaces. See your vehicle manual for details on this equipment.
Optional Equipment Required for Brake Pad Replacement
A Micrometer (used by professionals) to measure the thickness of the brake motor. Diagnostic Computer to release the caliper
let us discuss the steps to change your car Brake Pad
Brake Pad Replacement How to Steps
Step 1: Raise your Vehicle to Remove the Wheel:
Safety is our top priority, so make sure you are working with a vehicle under a 3000-pound and comply with all safety procedures.
Make sure that the parking brake is engaged so your vehicle does not roll forward/backward when you jack up the car. In addition, you can chock the back wheels.
Remove the wheel cover and loose the wheel nuts with a Lug Wrench before you start jacking the car.
Ensure that the tire rotation is in the opposite direction before you start jacking the vehicle as this helps to safely remove the tire with less hassle.
Now you can jack up the car tire high enough that you can comfortably sit or kneel for easy access to the brake. Take out the wheel nuts and pull the tire. Place the removed tires under the car as another safety measure.
Make sure to place a jack stand underneath to support the vehicle.
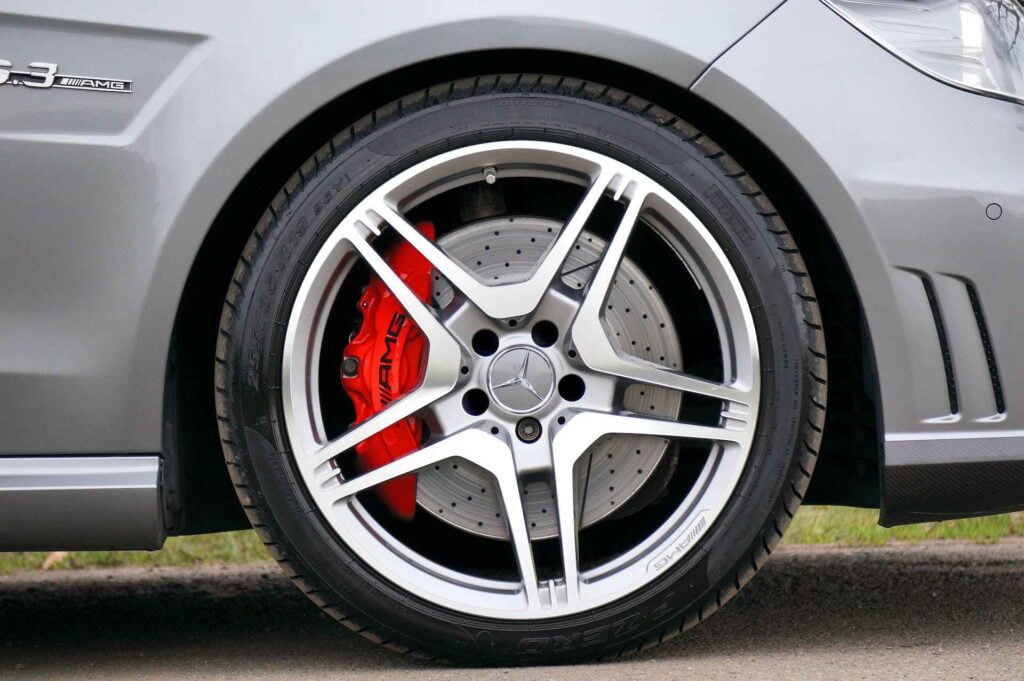
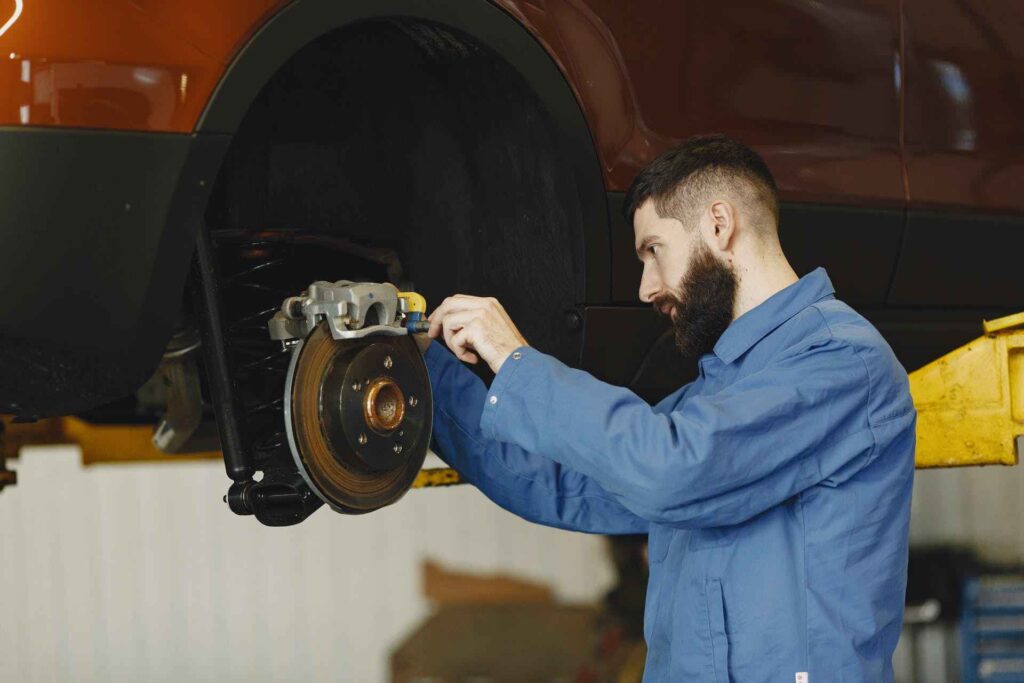
Step 2 – Remove the Brake Calliper
After successfully removing the tires, the next step is to take out the brake calliper. In getting started, we need to turn the driver-side wheel to the right or the passenger side to the left for a left-handed vehicle to easily access the calliper.
The opposite should be the case for a right-handed vehicle (turn the driver-side wheel to the left or the passenger side to the right).
Two (2) screws hold the brake calliper to the disc brake. These 2 screws need to be removed with a size 12mm (or higher) spanner or wrench. If you feel some resistance in removing the screws, you can apply some freeing oil on it.
Safety Measure: Make sure the freeing oil does not get on the surface of the brake disc.
Carefully tie the calliper and don’t leave it hanging so it doesn’t strain the brake line. You can secure it with a rope/cable to hang it safely.
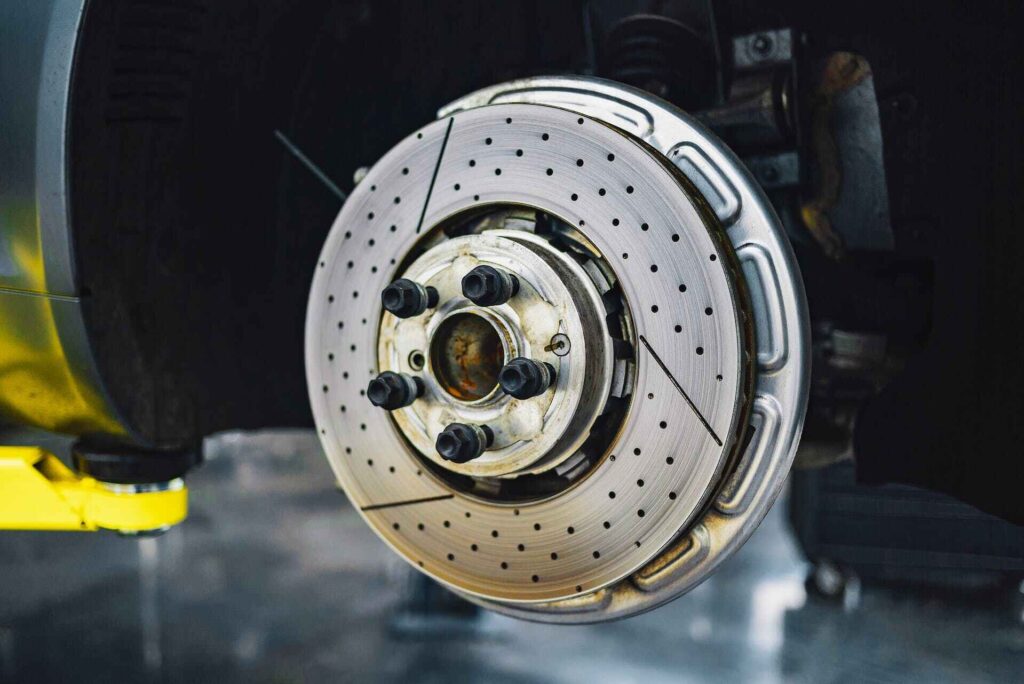
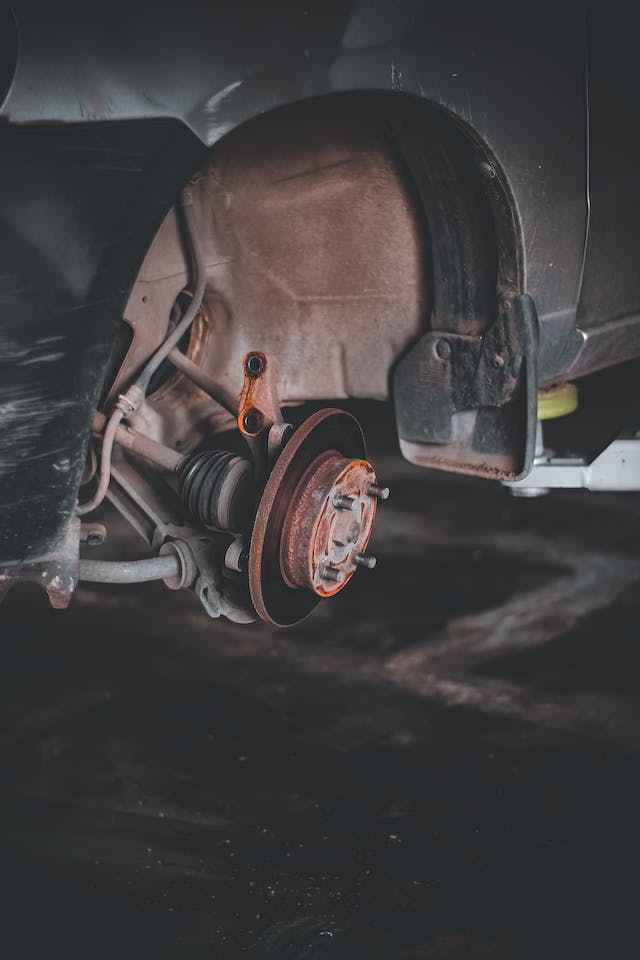
Step 3 – Take out the Old Brake Pads and examine the Disc Brake
You need to remove the old pads by gently and firmly pulling the metal clips that hold them to the calliper carrier. If the clip gets pulled out with the break disk, gently detach it from the old break disk and fit it back into the calliper carrier.
Check the brake disk for any scoring (score marks), as there might be a need a replace the brake disk also.
Step 4 – Prepare your new brake pad by applying Loctite Grease (Brake Grease)
Before fixing the new brake pad, you need to get it prepared by applying Loctite grease (brake lubricant) on the contact edges and the back of the pads only.
If there is any dirt on the calliper carrier, clean it off with the wire brush and brake cleaner.
Safety Measure: Make sure you don’t get the lubricant on the brake pad surface.
Step 5 – Fit the New Brake Pads
Install new brake pads into the caliper carrier similar to the way you took out the old ones, sliding them in from the side. Ensure the pads can move freely and the friction surface is facing the brake disc.
Untie the rope to fit back the calliper onto the calliper carrier. You may experience some challenges as you try to fit the calliper, which is due to the size of the new brake pads.
To remedy this, push the calliper piston back into its cylinder using a break depressor (If we have one) or we can manually do this using our hand or any other object.
Make sure to check the brake fluid reservoir cap is opened to free any pressure that might build up while we push in the caliper piston, and that a piece of cloth is placed around the reservoir to soak any excess brake fluid.
Fit the calliper screws back.
Step 6 – Replace the Wheels
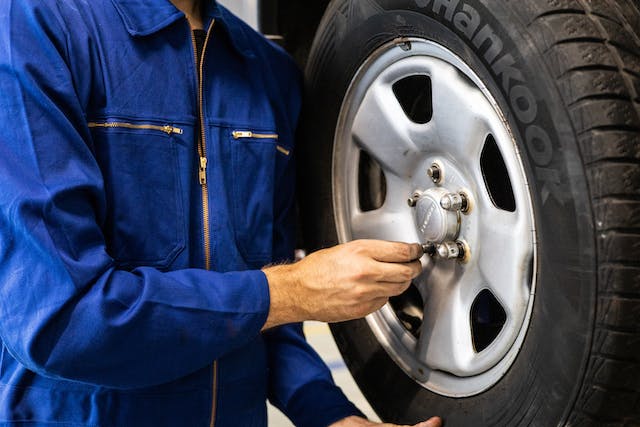
Make sure the calliper has been fastened to the calliper carrier with the screws before replacing the wheel. Slightly tighten the lug nuts with your hand before lowering the car jack, after which you can use the Lug Wrench to firmly tighten the lug nuts.
Do not forget to remove the jack support before lowering the jack.
Step 7 – Pump the new Brake pads.
Pump the brake pedals (at least three times or more) to bring the brake disc pads up to the disc surface. When you feel a strong pressure on your feet, it means your vehicle now has sufficient brake pressure.
Check the brake fluid level to see if it needs some top-up. Remove the cloth you earlier placed around the reservoir and clean up any oil stains.
Step 8 – Test Drive the Car
An empty parking lot is an ideal location to test drive the installed brake pad. make sure to follow brake quality check procedure which requires performing about 15 stops from 35mph to 40mph down to 5 mph.
Safety Measure: Always seek professional advice if you are unsure about carrying out this task.
Brake Pads Replacement Cost:
Brake pad replacement cost varies depending on the manufacturer. You can save a lot of money learning to change a vehicle’s brake pad by following the steps below. A search on Google revealed the cost of new pads could be as low as $30.
The average cost to replace your vehicle’s brake pad at a local mechanic garage is about USD200-300, which could be more depending on the extent of the brake repair need.
Brake pad cost varies depending on the manufacturer and sets. you can check Ford brake pad cost, Toyota Brake Pads Cost, Chevrolet Brake pad cost, Honda brake pad cost, Autozone brake pads, Akebono brake pads.
The cost could go high as much as $700 if the entire braking system (drums, cylinders, pads, rotors, callipers, etc.) needs to be replaced.
Learning how to fix your car brake pad could save you about 50% of the above cost.
Brake Problem Signs
An occurrence of the below are signs that your pads are worn and it’s time to change them.
- 1. The brake indicator light flashes on your dashboard:
- 2. Squeaking Noises of Worn Brake Pads
- 3. Grinding Noise from your tyres
- 4. Leaking Brake Fluid
- 5. Steering Wheel Vibration When Braking
- 6. Soft or Spongy Brakes
- 7. Vehicle Veering to One Side when Braking
- 8. Burning Rubber Smells
Conclusion
By carefully following the brake pad replacement steps outlined above, you can effortlessly replace your brake pads and address all other ‘brake pad replacement how to’ questions. Learning how to replace pads yourself would save you a substantial amount of money compared to taking your vehicle to a nearby garage.